Import from File
Import from File is a wizard that will guide you through copying data from a standard text (txt, csv) or Excel file (xls, xlsx) into objects in Vine database.
Overview
To import external data to the Vine database you need to run the Import wizard which will take you through the following pages:
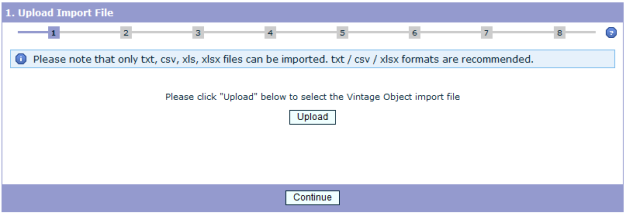
- Upload Import File. You select a source file and upload it to the web server to start using it.
- Determine file structure. If needed help the wizard to identify data in your file using a Preview pane.
- Select Objects. Define which Vine object types your data contains.
- Map objects. Map source data columns to those in Vine database tables.
- Duplicates handling. Choose how you would like the wizard to detect duplicates and what to do with those.
- Connections(Optional). You can choose an object(s) and connection type to connect all imported objects to.
- Simulation(Optional). You can simulate the import process to see what will happen and evaluate possible problems.
- Import. Perform the import operation.
You can freely move within Wizard pages using the Back/Continue buttons.
Uploading File
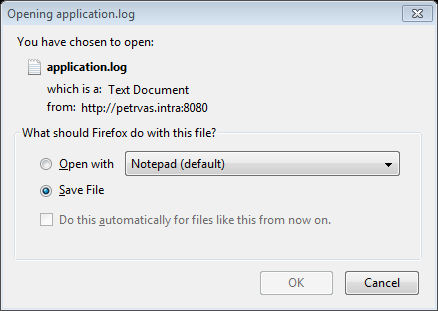
To upload a file, click the Upload button and select the file in the File Upload dialog that will appear.
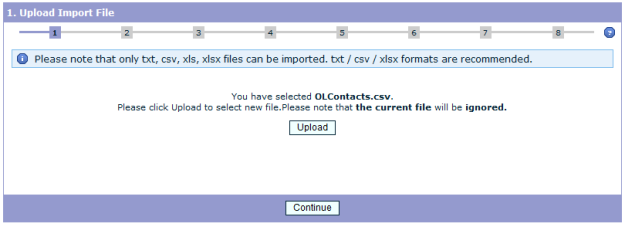
After the file has been loaded, you can click Continue to move to the next step.
Determining File Structure
On this step, the structure of your data in file has to be defined:

Often, you do not need to specify anything at this page, but you should check the Preview and if it does not show correctly your data then you should select specific settings until the Preview area shows the correct structure of your data.
Selecting Objects
On this page, you should define which Vine object types your data contains.
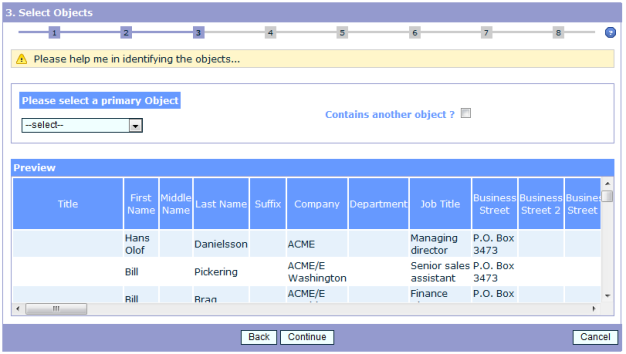
You need to select your primary object type first and if your file includes data for one more object type you can select Contains another object and then one more list will open where you can select a secondary object type for your data:
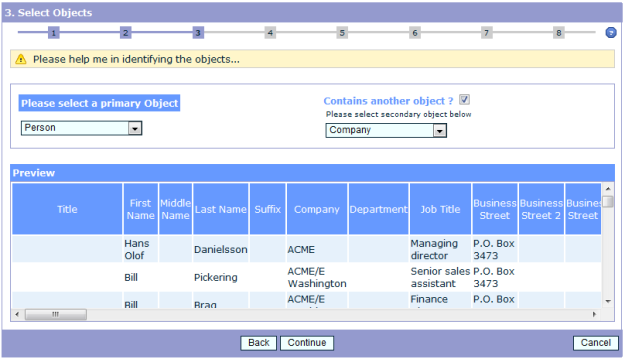
Click Continue to move to the next page.
Mapping Objects
On this page you need to map source data columns to columns in Vine database tables.
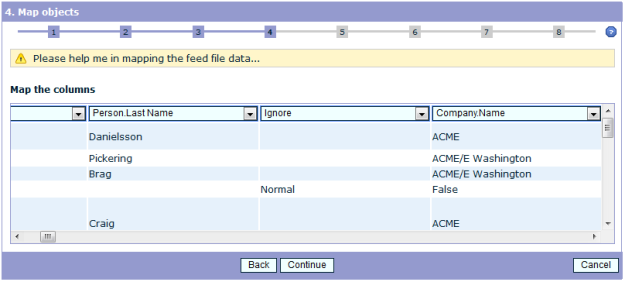
For each column of the source data you can select a target column of the Vine database table. Select Ignore for source columns which you do not want to import.
To split data in a source column into several columns in the Vine database, select Advanced mapping.
For example, if one source column contains “firstname lastname” then using the Advanced mapping you can split the data to go to two columns in Vine as follows:
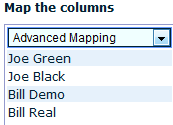
Using the following mapping the “First name” and “Last name” fields of target persons will be filled with correct data:

Duplicates handling
When importing your file, the wizard might discover that the database already has objects similar to the imported ones. On this page, you can specify how you would like the wizard to detect such duplicate objects and what to do with them.
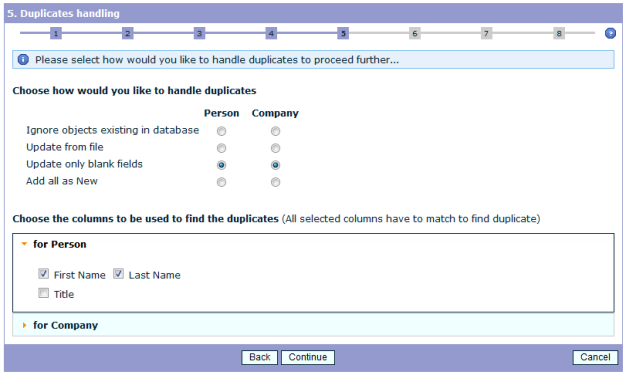
- Firstly, you need to choose one of the following actions the wizard will perform when detecting a duplicate during import:
- Ignore objects existing in the database. If an object to be imported has a duplicate in the database then the object will not be imported.
- Update from file. If an object to be imported has a duplicate in the database then the object in the database will be updated to become an exact copy of the source object.
- Update only blank fields. If an object to be imported has a duplicate in the database then only the empty fields of the database object will be updated.
- Add all as New. All objects to be imported will be added as new objects. There will be no check for duplicates.
- Secondly, you need to select a set of object fields the wizard has to check to determine duplicates. All the selected fields have to match for the wizard to detect a duplicate.
Click the orange triangle sign to expand/collapse a list of imported fields for each imported object type.
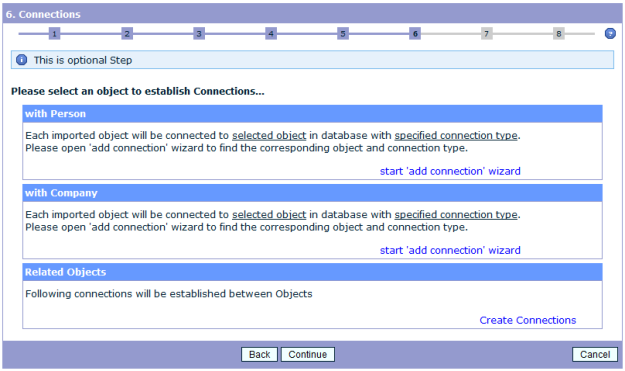
Connections
This an optional step where you can choose an object(s) and connection type to connect all imported objects to.
The page includes a pane for objects of each type you are importing. For example, in the following page you can specify
- An object which you want all imported persons to get connected to.
- An object which you want all imported companies to get connected to.
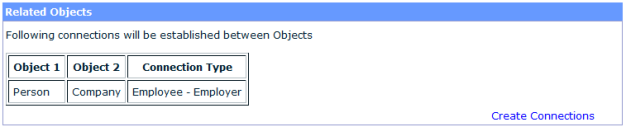
- Related Object. This pane currently supports only creating connections between companies and persons.
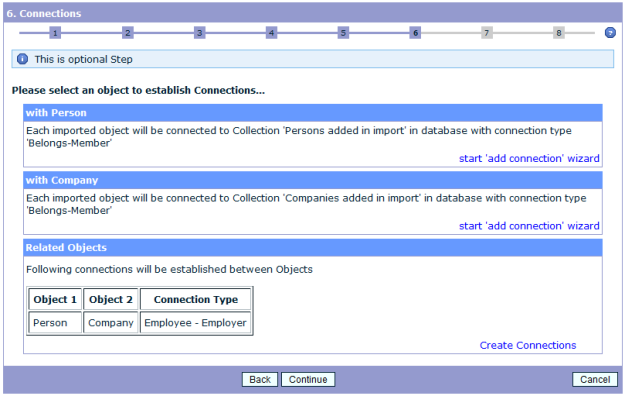
Please note that each pane will show brief information about the selected connection types after you set those:
Adding Connections
To find an object which you want to connect all imported objects of a specific type to, click start ‘add connection’ wizard in the pane for that object type:

- Enter the name (or partial name) of the object you want to connect the imported objects to and select its type:
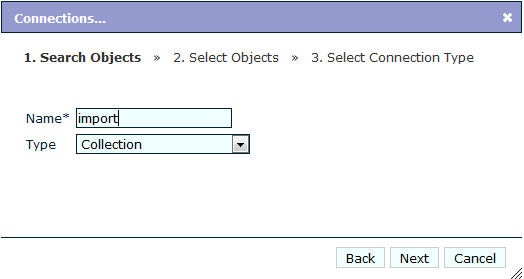
Click Next.
- All the objects of the selected type matching the name string will be listed on the next page:

Select the object you want to connect imported object to and click Next.
- On the next page select the connection type you want to use:

Click Next. That will finish the wizard and a summary of the choices you made will be shown in the pane:

Connecting Related Objects
Note: This pane currently supports only creating connections between companies and persons.
- Click Create connections in the Related Objects pane:

- Select a company-person connection type:
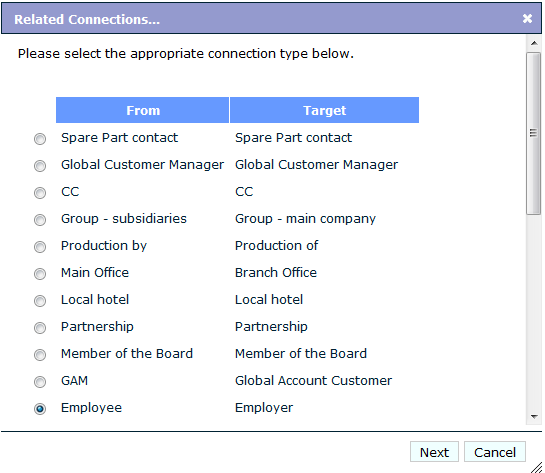
- Click Next to end the wizard. The connection type you have chosen will be shown in the Related Objects pane:
If needed you can repeat the process to add more connection types.
Simulation
This is an optional step where you can simulate the import process to see what will happen and evaluate possible problems. No changes to the database will be done during simulation!
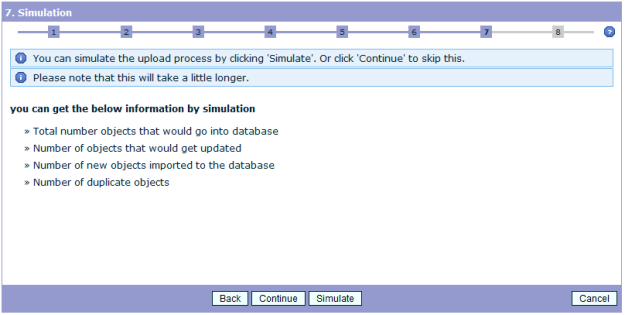
Click Simulate to test your configured import or click Continue to skip this step.
After the simulation you can evaluate the results and maybe reconfigure your import if needed:

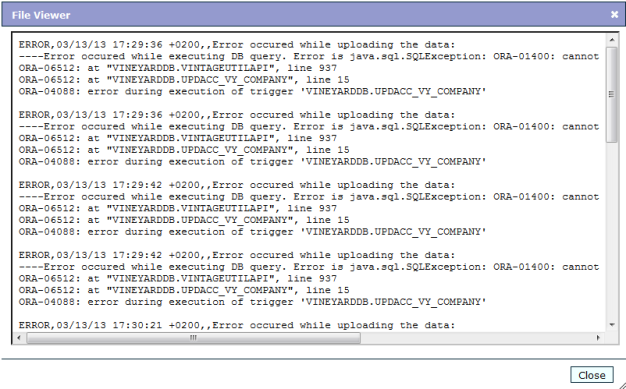
If the wizard encountered errors while simulating import you can investigate those by clicking View next to Predicted errors:
Import
On this last step, you do the actual import of file data into your Vine database.
First, you should review a summary of the import configuration you have done on all the previous wizard steps:
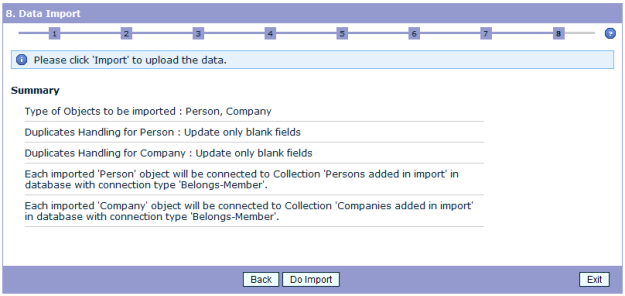
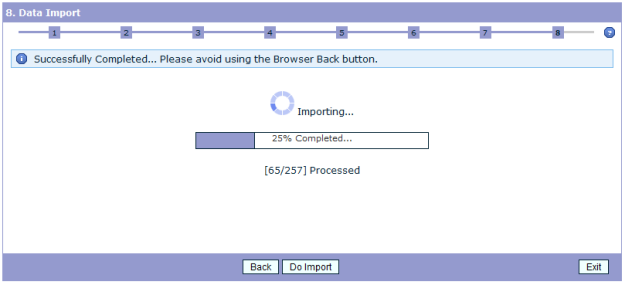
Click Do Import to start importing data. Please wait while the import is in progress:
After the import has ended, you can review its results:
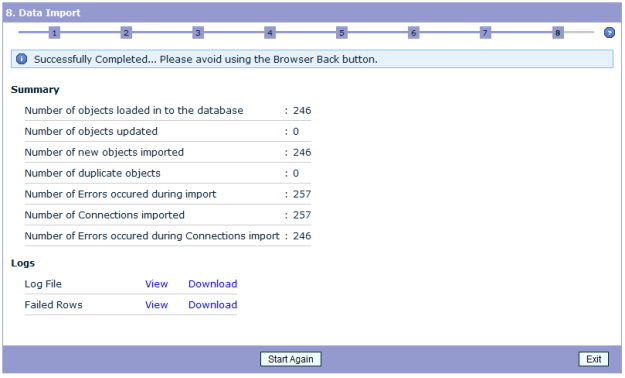
If needed you can view the log and failed rows information. You can also download the log files for a later investigation.