Users and their roles
In the Administrator’s Console the tools to manage users and groups are organized in the Users & Groups pane:
Add User Wizard
Using the Add User wizard you can create a new Vine user and add the user to all the needed groups. The wizard will guide you step by step through the whole process:
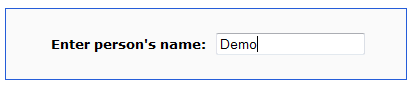
Step 1. Enter person's name
First, you need to check if there is already a person in the database which you want to associate with the new user.
Enter the person’s first name or last name. You can enter a partial name. The wizard will search the database for matching persons.

- Click Next to execute the database search and see its results.
- Click Back to go to the wizard's Overview.
- Click Cancel to return to the Administrator's Console.
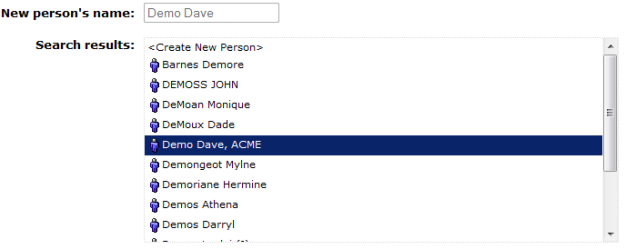
Step 2. Create or select person
Select an existing person from the list or select "Create a new person" to create a new person that will be associated with the new user account. You cannot select persons who already have user accounts (shown in brackets):
- Select <Create New Person> to create a new person for the new user:
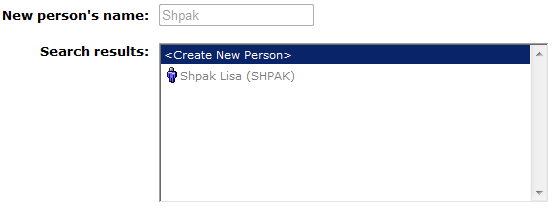
- Select existing person if you want to associate it with the new user:
- Click Next to edit the person's fields.
- Click Back to change the person search criterion.
- Click Cancel to return to the Administrator's Console.
Step 3. Configure the user
First, select what type of user you want to create. If Windows Authentication is not allowed in the config.xml of the Vine Web Server then there will be no User type option and you will be creating an Oracle authenticated user.
- Select Oracle User to create a user who will be authenticated by Oracle and enter the username:
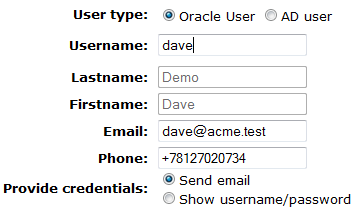
Edit the following fields of the person: Lastname and Firstname, E-mail, Phone. If you are using an existing person without a user account, changing the Lastname and Firstname will be prohibited.
You can also set whether you want to see the generated password on screen or to be sent by email.
- Select AD User (Active Directory User) to create an oracle user who will be authenticated in the user’s Windows domain. Enter the username and domain:
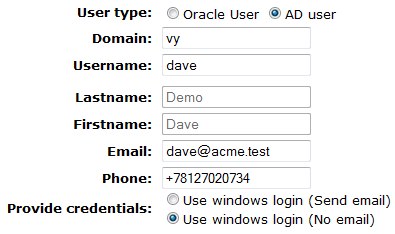
Edit the following fields of the person: Lastname and Firstname, E-mail, Phone. If you are using an existing person without a user account, changing the Lastname and Firstname will be prohibited.
Please note that for an AD User no password will be generated and you can only select whether to send an information email or not. Please also note that the username must exactly match the windows user name.
In the ASP (myVine) mode, additionally the MYVINE_AD_ENABLED setting for an organization must be set to “1” for the wizard to create Windows (AD) authenticated user. Also the username in the myVine mode must be of the form “winuser@domain”.
- Click Next to choose user groups for the user.
- Click Back to choose another user.
- Click Cancel to return to the Administrator's Console.
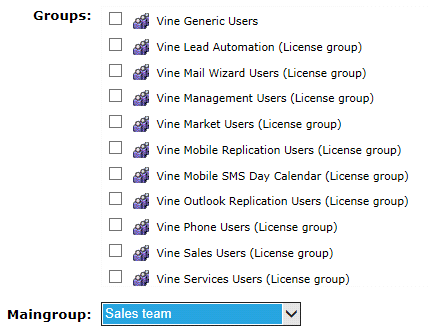
Step 4. Set User Groups
Choose the user groups you want to add the user to:
- Click Next to verify all user settings you have chosen.
- Click Back to edit the user data.
- Click Cancel to return to the Administrator's Console.
Step 5. Generating
Verify the settings you have chosen for the new user and generate database changes if the settings are correct or use the Back button to return to previous steps and correct the settings.
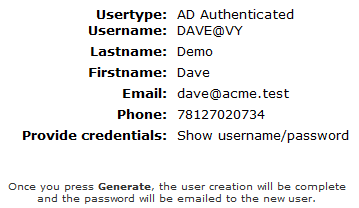
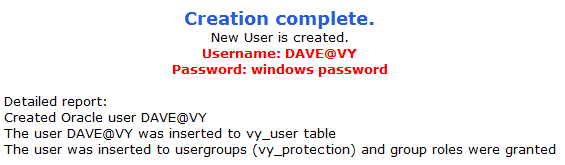
The new user will be created after you click Generate:
Welcome Email
After you click Generate, an email with basic information about Vine services, details of the user account and login instructions will be sent to the user. The email will also include preconfigured links which the user can click to automatically login to Vine. The user will not have to enter any login data except the password in case of Active Directory authentication.
If needed the email contents can be edited using the template stored in AC_Newuser.properties file which you can find in the WEB-INF folder of Vine Web installation.
Users
The Manage Users tool lists all user accounts and account operations as links:
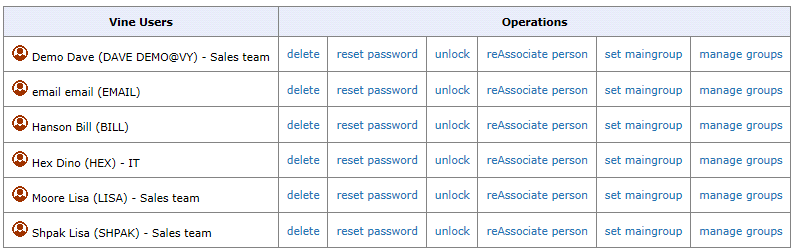
- To delete a Vine user, click delete next to the user whom you want to delete. The corresponding Vine and oracle users will be permanently removed from the database. Please note that you will not be able to undo these operations.

- To reset a user's password, click reset password (not available for users with Windows domain authentication). A new password will be automatically generated and sent to the user. Please check that the Vine person associated with the user has a valid email.

- To unlock an account, click unlock. The unlock link does not mean that the account is actually locked. An account can be locked by Oracle if, for example, the user entered a wrong password several times in a row.

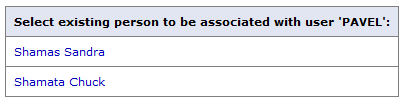
- To change the Vine person associated with a user account, click reAssociate person, then find the person you need by lastname (or partial lastname).
You might need to select the person from those who match your search criteria:
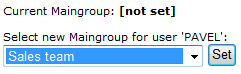
- To change a user's main group, click set maingroup and select the group you need from a list of available user groups. A user can be a member of any number of groups, but there can only be one Main group for a user. When a user creates an object, by default the access rights to the object are assigned to the Main group of this user:
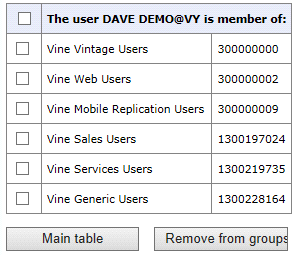
- To remove the user from a group, click manage groups, select groups you want the user to be removed from and click Remove from groups:
Add User Group
The wizard will help you create a new user group, choose Vine products available for group members and add group members to the group:
Click Start to launch the wizard.
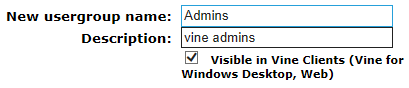
- Step 1. Enter a name and description for the new group. Select Visible in Vine clients if you want users to see this group in Vine client programs:
- Click Next to go to the next step.
- Click Back to go to the wizard's Overview.
- Click Cancel to return to the Administrator's Console.
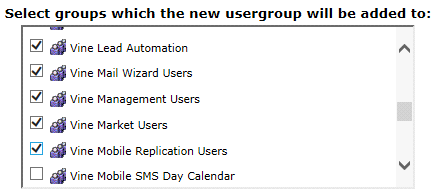
- Step 2. Add the new user group to Vine groups. Members of the group will be able to use these products.
- Click Next to go to the next step.
- Click Back to edit the name of the usergroup.
- Click Cancel to return to the Administrator's Console.
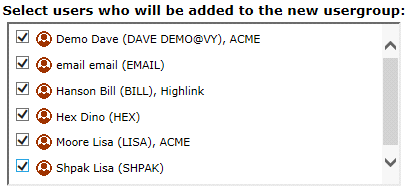
- Step 3. Add members to the new usergroup.
- Click Next to check and confirm all user group settings you have chosen.
- Click Back to change product groups of the user group.
- Click Cancel to return to the Administrator's Console.
- Step 4. Check the settings you have chosen for the new user group and generate database changes if the settings are correct or use the Back button to return to previous steps and correct the settings.

- Verify the settings you have chosen for the user group.
- Click Generate to create the user group.
- Click Back to change the user group settings.
- Click Cancel to return to the Administrator's Console.
User Groups
Using this tool, you can edit or permanently remove Vine user groups from the database. Please note that you will not be able to undelete them.
The tool lists all the user groups that you are allowed to manage.
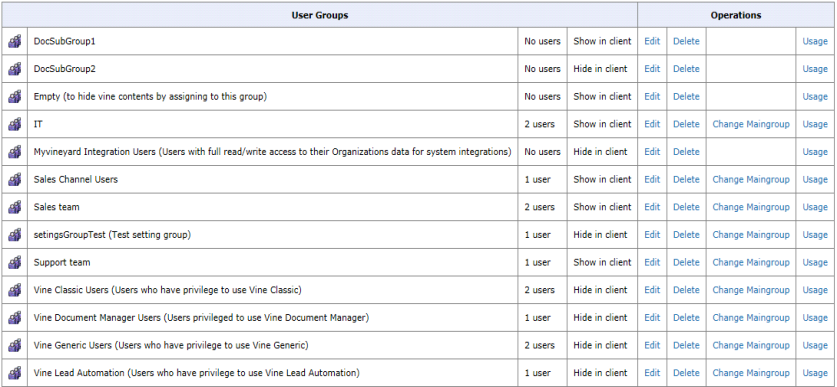
Simply click any operation to apply it to the corresponding group:
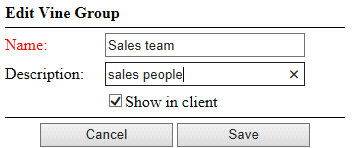
- Click Edit to change the group name and description and set the "Show in client flag":
- Click Delete to remove the group from the database.
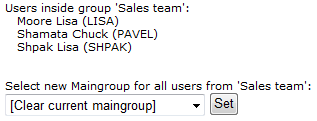
- Click Change Main Group (available for groups having at least 1 user) to set the same main group (or no main group) for all users of the group:
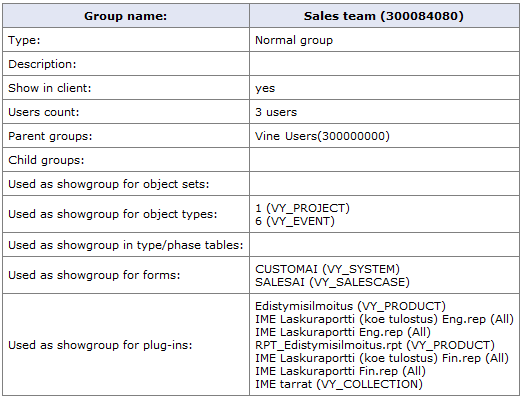
- Click Usage to see a report of all uses of this user group in the database.
Users/Groups Management
Use this tool to freely organize users and groups. Add/remove users or subgroups to/from any group.
The tree-like hierarchy of user groups is shown in the left pane. Each branch shows a user group and all its subgroups of different levels. Next to each group the number of users it includes and the number of users it can include are shown if you selected Show users count next to the tool title.
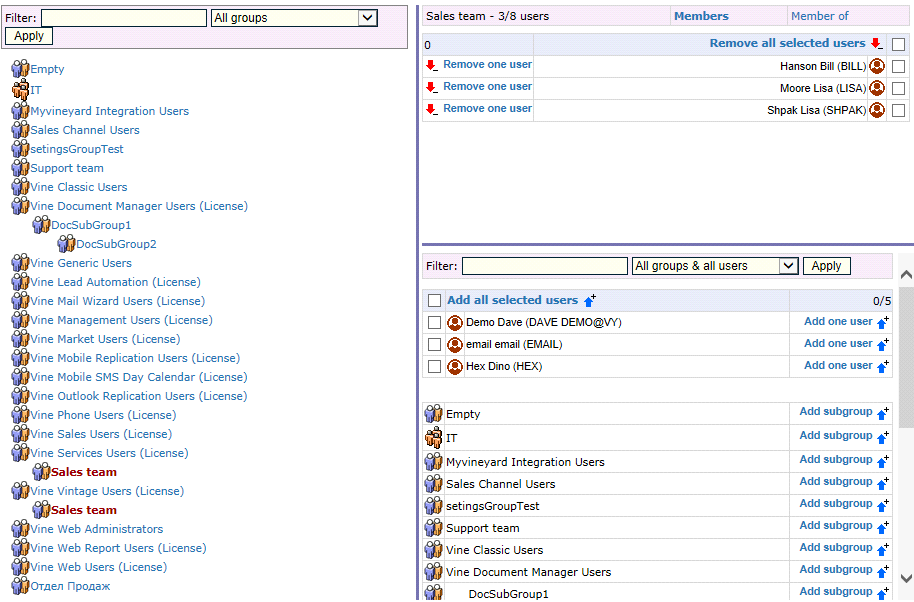
To select a group, just click it in the left pane. The group will be highlighted and its contents will be listed in the top right pane. You can remove any listed object from the group by clicking the Remove one user link next to the object or you can select multiple users and remove them all at once by clicking the Remove all selected users link.
The users and groups that can be currently added to the selected group are listed in the bottom right pane. You can add any listed user by clicking the Add one user link next to it or you can select multiple users and add them all at once by clicking the Add all selected users link
You can add any listed subgroup by clicking the Add subgroup link next to the group.
Add Multiple Users
For each user, it is enough to enter a full e-mail address.
This wizard will help you create Vine user accounts and associate them with persons.
Click Start to launch the wizard.
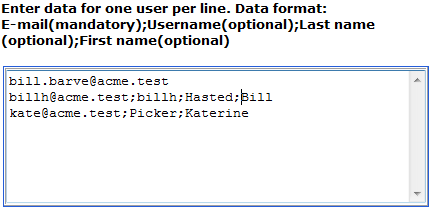
- Step 1. Enter data for one user per line. Data format: Email(mandatory);Username(optional);Lastname(optional);Firstname(optional). Enter one user per line. For each user, it is enough to enter an e-mail address. If user name, first name and/or last name are not entered, the wizard will attempt to retrieve those from the e-mail address.
- Click Next to parse entered data.
- Click Back to go to Wizard Overview.
- Step 2. Problem/Collision detection.

- Click Next to choose groups to add users to.
- Click Back to modify users' data.
- Click Cancel to return to the Administrator's Console.
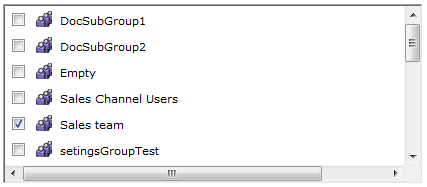
- Step 3. Choose groups you want to add users to.
- Click Next to verify all user settings you have chosen.
- Click Back to check found problems/collisions.
- Click Cancel to return to the Administrator's Console.
- Step 4. Verify the new users.
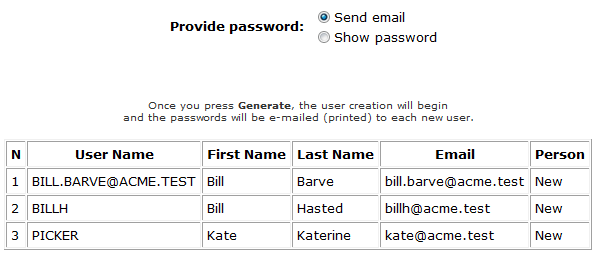
- Click Generate to create the users. After you click Generate, an email with basic information about Vine services, user account and login instructions will be sent to each user.
- Click Back to return and correct the user settings.
- Click Cancel to return to the Administrator's Console.