Calendar Views
Day(s) View
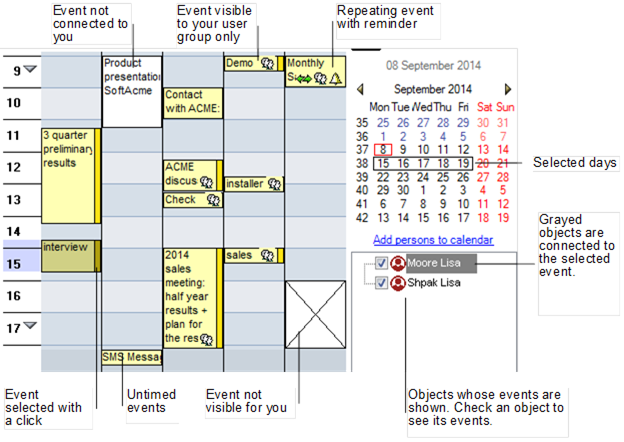
When you open the Calendar you will see its Day(s) view .The Day view is a table, which has columns corresponding to days and rows corresponding to time (in hours).
-
Simultaneous events are presented next to each other on the calendar. When you select an event by clicking it on the calendar, the objects All information in Vine is stored in the server database as named objects of different types. Examples: a company, a person, an event, a sales case. linked to it are highlighted in the object list In lists objects are represented by small icons and object names. Icons help you to recognize object types. Press a keyboard character (a letter or a digit) to jump to the list item that starts from this character. The first matching item will be chosen, counting from the top of the list..
-
Yellow events are connected Vine objects are linked to each other by connections. Vine shows an object together with links to all objects directly connected to it. to you. White events are connected to other objects placed on the Calendar.
-
An event whose visibility group does not include you is shown as a crossed block. The block shows time reserved for the event. You can click the block to see the objects connected to the event - they will be highlighted with gray background, but you cannot see the event's name or description.
If needed, you can define day limits by specifying starting and ending hours for the day. To change the opening or closing hours of the day click the triangle sign of the first or of the last day cell, respectively. Choose hours from the pop-up list that will appear.
Month View
If you want to just scan the events you can use the Month view on the Month tab.
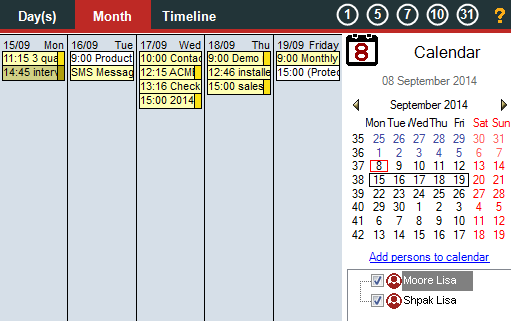
Month View shows events without their end times.
In the Month View you can move events from one day to another but you cannot change an event’s attributes directly in the view. If you want to change the duration or starting time of an event you have to open the event ( by double-clicking) or switch to the Day or Single Day View.
Single Day View
If some day on your Calendar has a very tight schedule, then you can best view the day’s events using the Single Day View. Click the day’s header to switch from the Detailed or Quick view to the Single Day View:
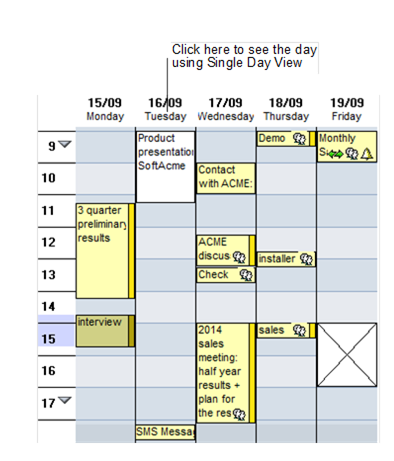
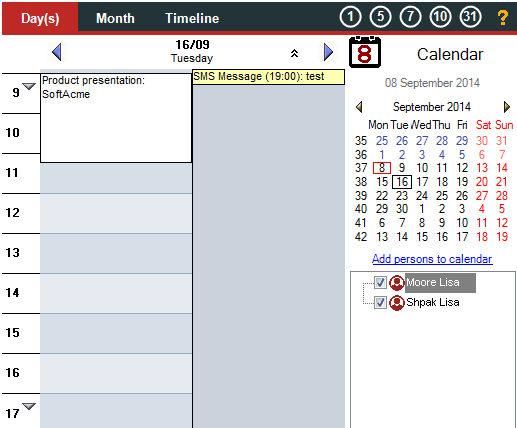
By clicking the day’s header you can switch from the Single Day View to the view you came from, i.e. the Day or Month view.
Timeline View
The Timeline view shows a visual distribution of objects' schedules over a horizontal time axis. Using the timeline view you can easily cross-match the events of several objects and thus quickly schedule a group meeting or evaluate the relative workloads of group members.
Events are presented as horizontal bars. Events of a zero length have a diamond shape. Events which do not have a start time set are not shown on the Timeline view.
The vertical red line shows the current time.

Initially, the Timeline view shows events of the period selected on the monthly calendar. If you want to make out the details of a short event, click the Zoom In icon. Alternatively, if you want to see more events of a longer period, click the Zoom Out icon.
You can move an event of a person to another time or change its duration. You cannot move events between object rows. If you want to connect an object to an event, drag the object on the event.
To create an event for an object drag over the event's time in the object's row.
To create an event for all objects, hold down the CTRL key + drag over the event's time.
Indicating Holidays
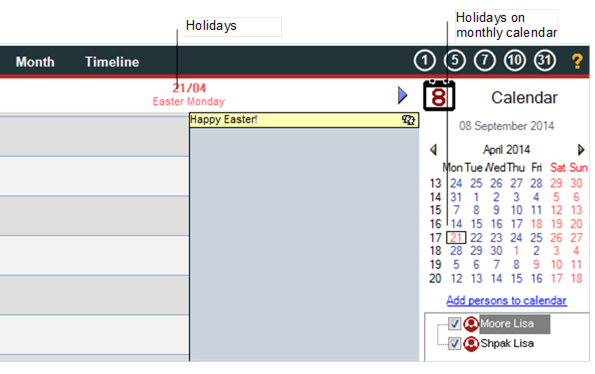
You can choose a country whose holidays you want to see on your Vine calendar:
-
Select Show Settings from the main Menu.
-
Select on the Calendar tab which holidays Vine should show.
Usually holidays which are days off are shown in red on the Calendar, but the administrator can set any holiday or other days so that they are shown in red color on the Calendar.
Colorized Events
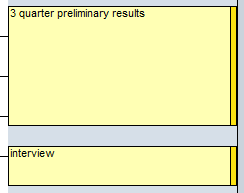
Events, as well as any other objects, can have color codes assigned. Such events will be shown on the Calendar as follows:
Printing Calendar
To print the Calendar click the Print icon and setup the printing options. The calendar is printed out as it appears on the screen.