Configuring Synchronization
Vine sync has to be properly configured. After that there is no need for any special actions from you. The replication will work automatically on the Vine server and you will see Vine events appear in your Office Calendar (or other client applications you use to connect Vine objects are linked to each other by connections. Vine shows an object together with links to all objects directly connected to it. to your Exchange/Domino server) and events from Office appear in your Vine calendar.
You do not need to be logged into any Vine client applications for the replication to work.
For ActiveSync, the Vine administrator might need to configure the sync in Vine Web server if your company is using its own Vine servers.
Configuring Microsoft Office 365 Sync
You can configure Microsoft Office 365 synchronization for your account in Vine Windows client and in Vine Sales web application.
In Vine desktop client for Windows:
Select Show Settings from the main Menu and open the Synchronization tab.
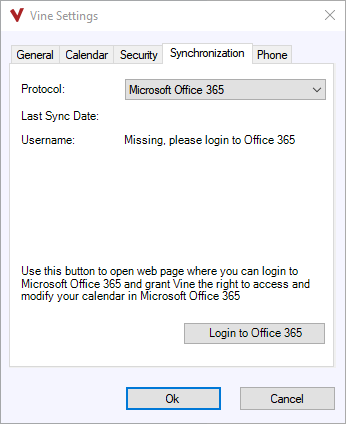
On the Synchronization tab, please do the following:
- Select Protocol: Microsoft Office 365.
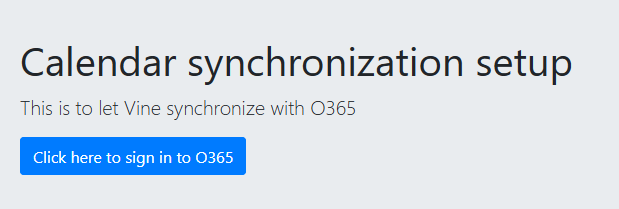
- Click Login to Office 365. The following web page should open in your default browser:
- Click the button to sign in to Office 365. You will be asked for the username and password A secondary identification word associated with your username. Your password is used for data security and should be known only to you. Both you and the administrator can change your password. of a Microsoft account you want to use for synchronization (or it will use the currently logged Microsoft account).
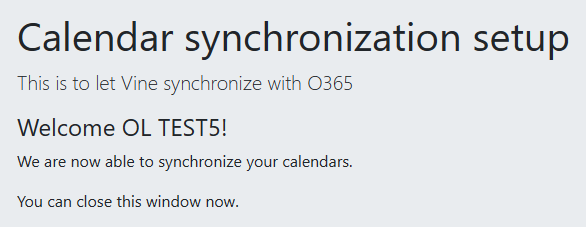
- If you provided the correct credentials then the synchronization will be initialized
- Close this window. Your Office 365 synchronization has been configured.
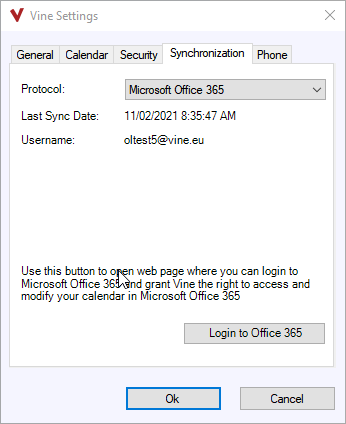
You can open the Synchronization pane again to see the last time a sync happened and the user name The name by which a user is known to the Vine Open Server. Every user name is associated with a password, and both must be entered to connect to the Vine Server database. used in the sync.
Configuring ActiveSync
To configure the ActiveSync synchronization for your account please do the following:
In Vine desktop client for Windows:
Select Show Settings from the main Menu and open the Synchronization tab:
In Vine Web:
Select Settings from the main Menu:
The settings page with the Synchronization panel at the bottom will appear:

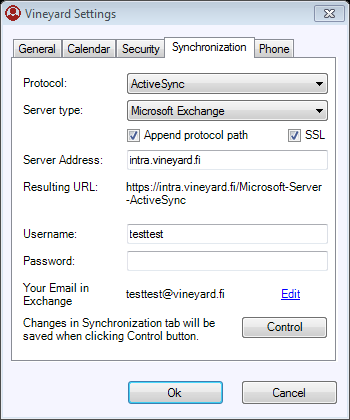
Under Synchronization select:
-
Protocol. Select ActiveSync .
-
Server Type. Select which server you want to synchronize your Vine events with:
-
Set the path to the server which you want to sync with the Vine server:
-
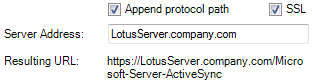
Select Append protocol path if you only want to enter the base server address and let Vine to build the Resulting URL. Select SSL for a secure connection: HTTP protocol will change to HTTPS.
-
Clear Append protocol path if you want to enter or edit the full server path yourself:
-
Enter the user name and password for the target server you selected (Lotus-Domino or Microsoft Exchange).
-
Check your email address in the target server you selected. If it is not correct then click Edit and change the email address of your Vine person object All information in Vine is stored in the server database as named objects of different types. Examples: a company, a person, an event, a sales case..
-
Click Control to verify your settings and synchronization process if needed.
-
Click OK to apply your settings
Lotus-Domino or Microsoft Exchange.
In Vine Web: (Google Sync is not supported for now).


Verifying ActiveSync Settings and Synchronization
This dialog shows when you click Control while configuring ActiveSync synchronization settings.

-
Click Verify account to check if the sync process can connect to the server using the data you entered:
