Using Target Groups Pane
Creating a Target Group
To create a new target group:
-
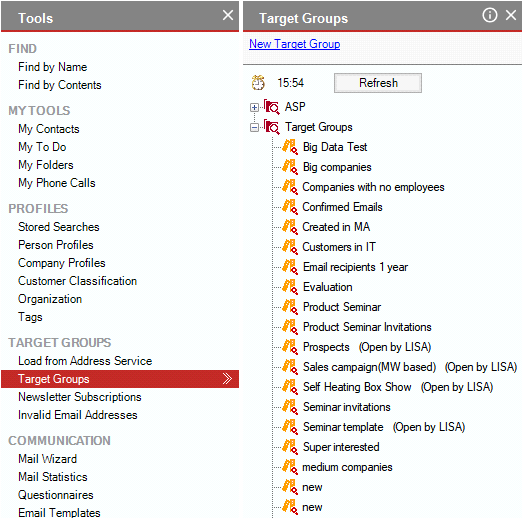
Click Target Groupss in the TARGET GROUPS pane to open the Target Groups tool:
-
Click New Target Group in the Target Groups tool. The New Target Group dialog box will appear:
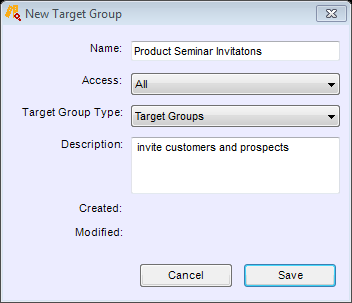
Enter a name and a description of the new target group. Select an access group if needed. Click Save. You will see a dialog on the right which you can use to build your target group. For instructions on using this dialog please see Building Target Group.
Closing a Target Group Dialog
To close an open target group building dialog, right-click it in the Target Groups pane and choose Close from the shortcut menu. Alternatively, you can click the X icon at the top right corner of the target group dialog.
Opening/Reopening a Target Group Dialog
To open a target group dialog, double-click the target group name in the Target Groups pane. Alternatively, you can right-click the group and choose Open.
You can easily open again the group dialog you just closed by clicking the Reopen icon in the top right corner of the closed group dialog.
Saving a Target Group Dialog State
You do not need to manually save a target group dialog as each change you make to the dialog is saved to the database automatically.
Deleting a Target Group
To delete a target group, click it in the Target Groups pane and press the Delete key. Alternatively, you can right-click the group and choose Delete. You will be asked to confirm the deletion.
Editing Target Group
To change the name, type, description or access rights of a target group, right-click the group and choose Edit. The Edit Target Group dialog will appear.