Lists
Email lists are usually used to group people for sending emails to.
Person tags are special email lists which can be used for email targeting as well, but their main use is to put internal labels, such as "lead raised" or "submitted a form", on persons. Automation rules are often used to tag persons. When an automation rule tags a person, it adds the person to a tag list (having the same name as the tag).
Both, the Email and Tag lists are shown on the Recipients page in the Email Listsand Tags folders and can be chosen as a target list for an email:
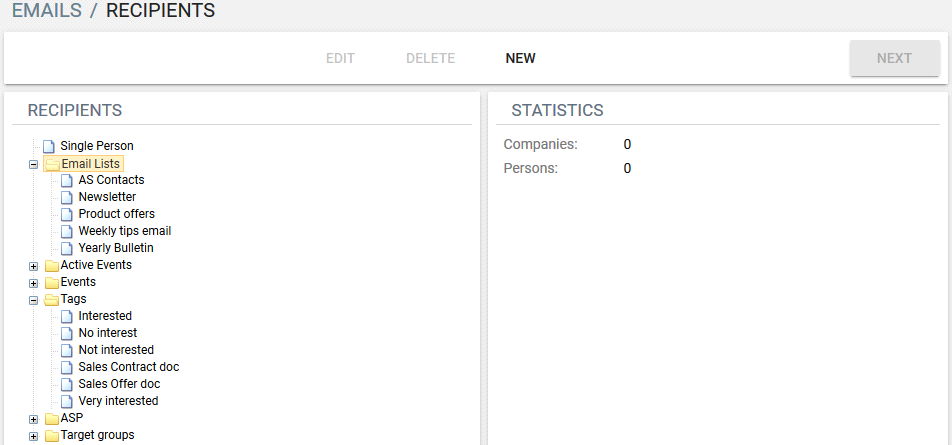
Email Lists
The Email Lists table shows all email lists and how many people included in each list. Lists marked as "Hidden" are not available for site visitors for online subscription.
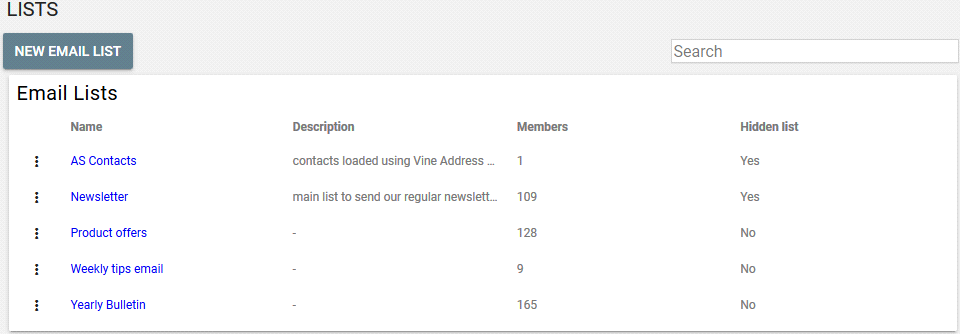
A list in bold is the list set in the Address Service settings as the one to where persons loaded from Address Service will be added.
No Email list
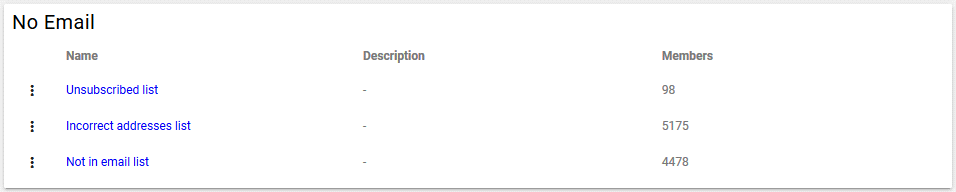
The No Email pane includes the following special lists:
- Unsubscribed list is used to store people who do not want to receive marketing emails. Normally, when you send an email to members of a target group, it will not be sent to people included in this list. But you can override this.
- Incorrect addresses list stores persons with email addresses not following the rules for email addresses. Emails can't be sent to these addresses.
- Not in email list entry is not a list but you can click it to see all persons not included in any email list
You cannot change the "name", "description" and "hidden" settings of the No Email lists. You can only add or remove persons.
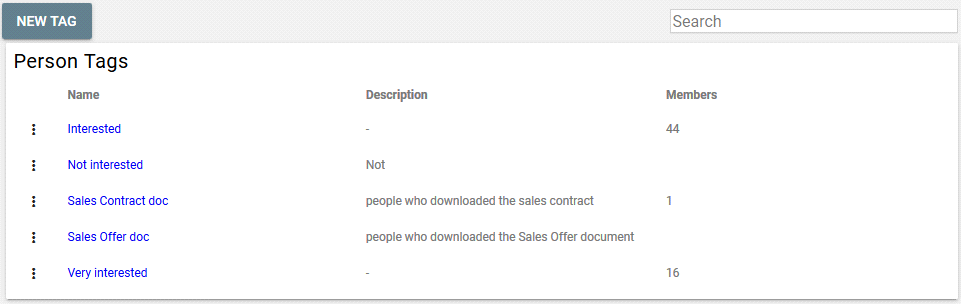
Person Tag Lists
The Person Tags table shows tag lists and how many people included in each list. Person tags can't be hidden.
Operations with Lists
To filter shown email lists, type a text string you want the shown lists to include.
To create a new list or tag, click New Email List or New Tag, respectively.
To see a list's Summary, click the list link or click  and select Summary
  . To open more commands for a list, click on its left side:
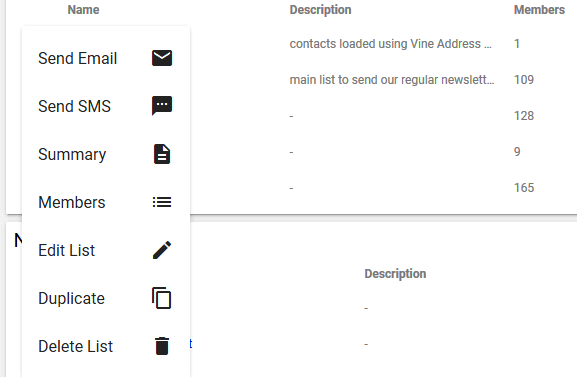
- To send an email to list/tag members, click and select Send Email

- To send an SMS to list/tag members, click and select Send SMS

- To see and change list members, click the list or click and select Members

- To edit a list, click and select Edit List

- To make a copy of a list , click and select Duplicate

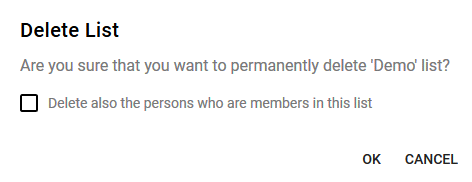
- To permanently delete a list, click and select Delete List
 . (You cannot delete a list if it is used in an automation rule or by a web form. First, you need to remove the list from all automations where it is used.)
Select Delete also persons who are members in this list if you also want to delete all the persons in the list.
List Summary
This Summary page shows the list information and included segments. You can click Send Email to send an email to all members of the list.
The top pane includes links to the following sub-lists of the main list:
- Member count - shows all persons in the list.
- Incorrect addresses - shows persons with email addresses which do not follow the rules for email addresses.
- Possible to send - shows all persons to whom it is possible to send emails.
- Empty email - shows persons who have no email addresses.
- Unsubscribed - persons who unsubscribed from receiving emails.
Segments are target group queries you create in the Target Group editor based on an email list . You can edit list segments and send emails to segment members.
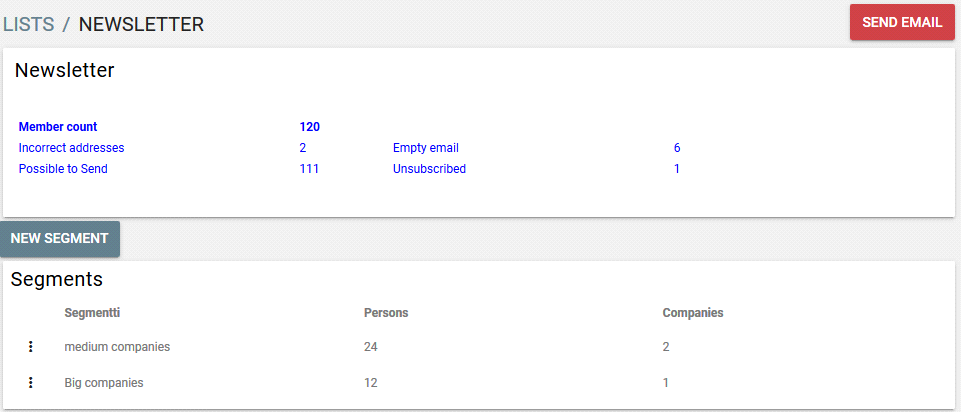
To create a new segment, click New Segment .
- To send an email to segment members, click and select Send Email
- To send an SMS to segment members, click
 and select Send SMS
 - To edit a segment, click and select Edit
- To permanently delete a segment, click and select Delete.
- To create a tag list and fill it with segment persons, click and select Create Tag and Show Members
 .
.
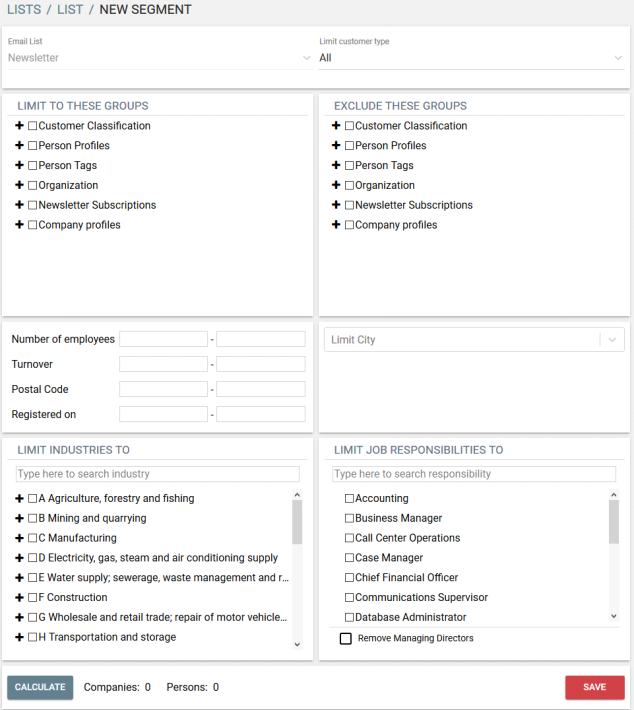
Creating a New Segment
To create a new segment, click New Segment. The New Segment dialog will appear where the underlying email list is set and you cannot change it.
Please refer to the Creating or Editing a Segment chapter if you need help on using this dialog.
Creating / Editing New List
In the Edit List/Tag dialog enter a name and description.
If it is an email list, then please also select Hidden list if you do not want this list to be visible for online subscriptions for your Customer Web visitors:
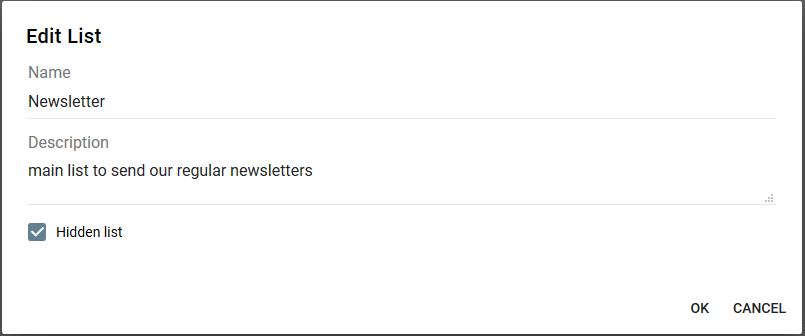
Click OK.
Working with List Members
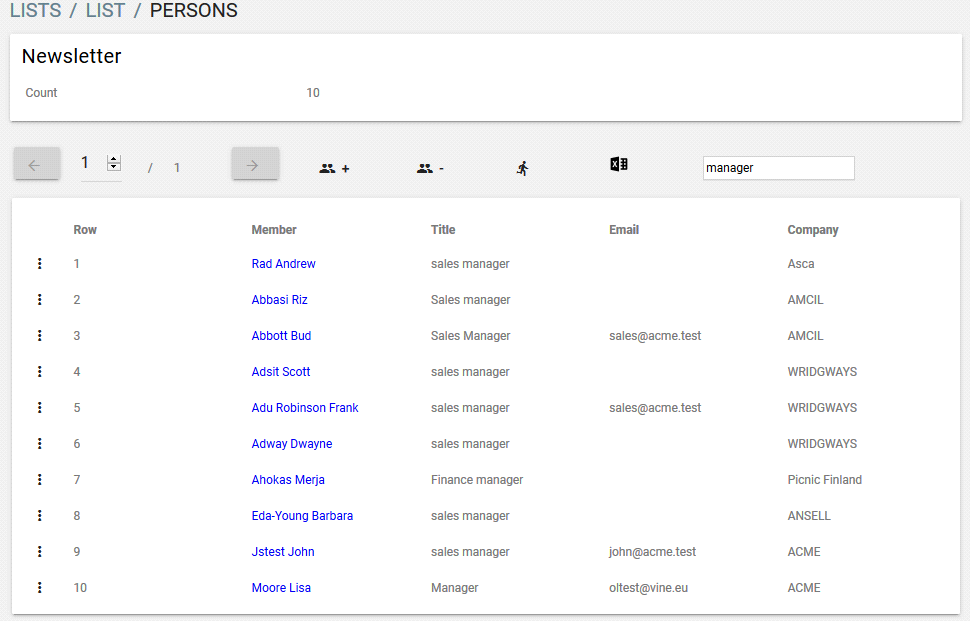
You can change the persons included in a list on the PERSONS page.
The page lists all included persons :
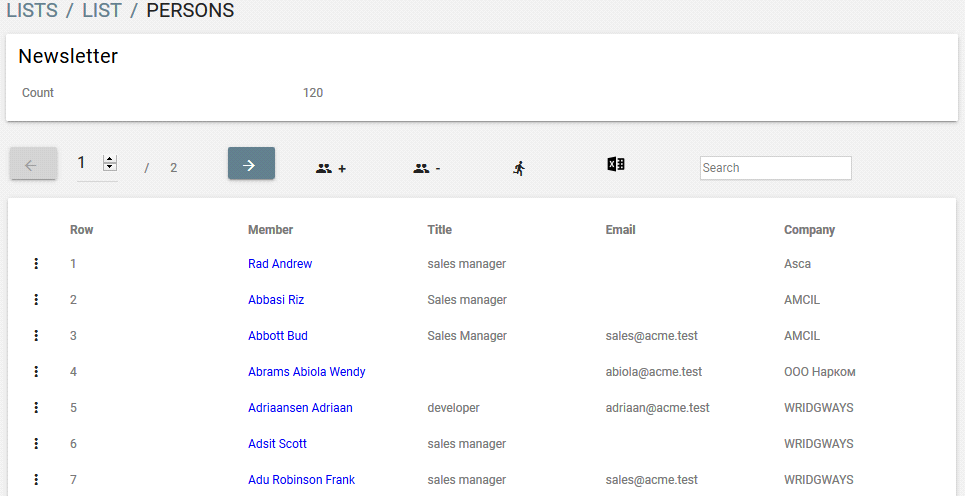
The page shows up to a hundred persons on one page, splitting bigger lists to several pages which you can browse using the <- and -> buttons.
You can filter the list using the Search text box.
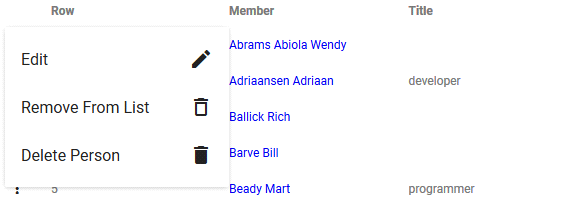
- To edit a person in the list, click and select Edit
- To remove a person from the list, click and select Remove From List
 .
. - To delete a person from the database, click and select Delete Person.
You can add members to the list from the database or directly from an Excel file.
Creating/Editing a Person
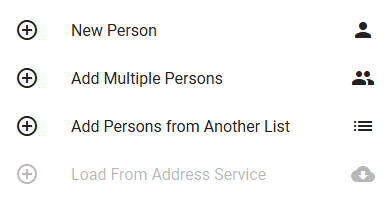
To add a person to the list, click  and select New Person from the list that will appear:
Enter the person's email first. When you enter an email address in the New Person dialog, the address will be checked in the database and if an already existing person will be found then the dialog will switch to the Edit mode where you can update the person if needed.
Enter the person's other basic data and set job responsibilities:
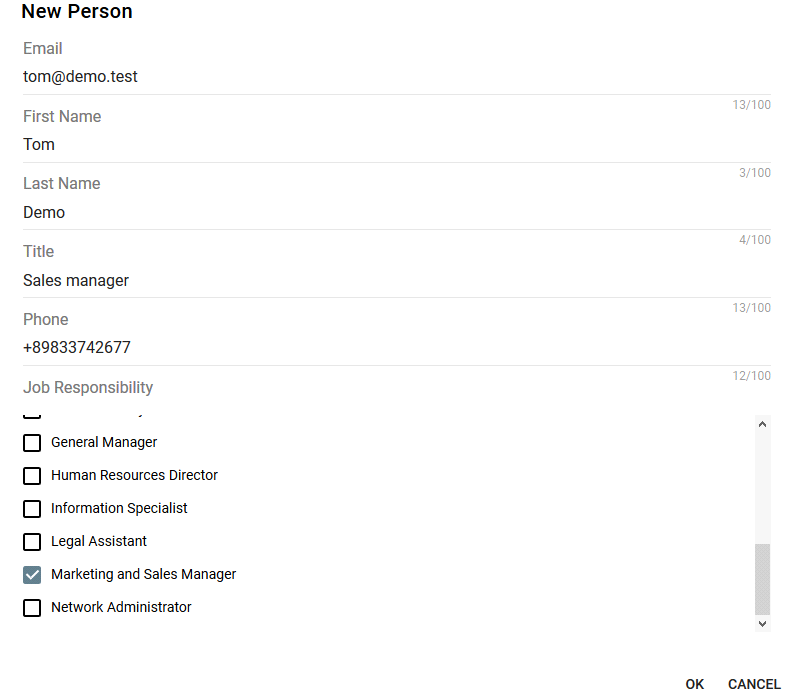
Click OK to add the person to the list and to the database if it is a new person.
Adding Multiple Persons from Database
To add multiple persons to a list from the database, click and select Add Multiple Persons from the list that will appear. The following Persons/Add page will appear:
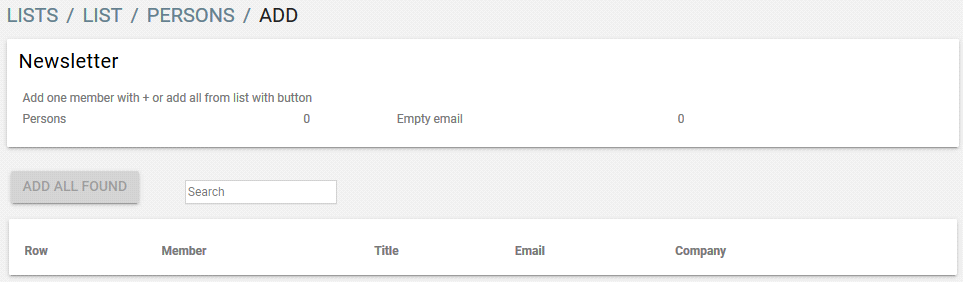
Type object name or partial name in the Search edit box to find objects from the database:

You can click + next to objects you want to add or you can click ADD ALL FOUND to add all found objects.
Adding Persons from Another List
To add persons from another list to the currently open list, click and select Add Persons from Another List from the list that will appear. In the dialog that will appear, select a list whose persons you want to add to the current list:
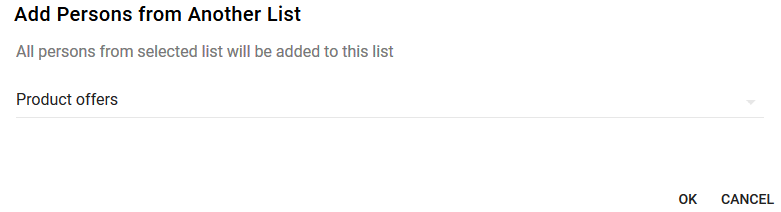
Click OK. Persons from the selected list will be added to the currently open list.
Loading Persons from Address Service
If you are working with the list set in Address Service settings then you can load persons from Address Service to this list.
To add persons to a list from the Vine Address Service, click and select Load from Address Service from the list that will appear.
Please note that if the Load from Address Service command is disabled then you are either using the list not set in the Address Service Settings or you do not have yet ordered the Address Service.
Note: The Vine Address Service is integrated with the decision maker data from Asiakastieto Oy which provides access to thousands of companies and key people. The Load From Address Service tool is only available if you have ordered the Address Service. You can order it by contacting support@vine.eu
Removing Persons in Another List
To remove persons in another list from the currently open list, click  and select Remove Persons in Another List from the list that will appear. In the Remove Persons in Another List dialog that will appear, select a list whose persons you want to remove from the current list:
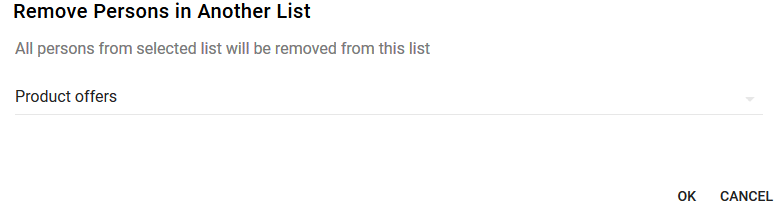
Click OK. Persons from the selected list will be removed from the currently open list.
Removing Found Persons
First you need to use the Search field to find persons you want to remove from the list. Enter text that you want to find in persons and wait till the list will be updated to include only persons which include this text:
Now to remove all found persons, click and select Remove Found Persons From List. You will be asked to confirm the remove operation:

Click OK to remove persons.
Clear the Search field to see all persons that are left in the list.
Deleting Found Persons
First you need to use the Search field to find persons you want to delete from the database.
Then to delete all found persons, click and select Delete Found Persons. You will be asked to confirm the delete operation.
Running Automation for Email List Members
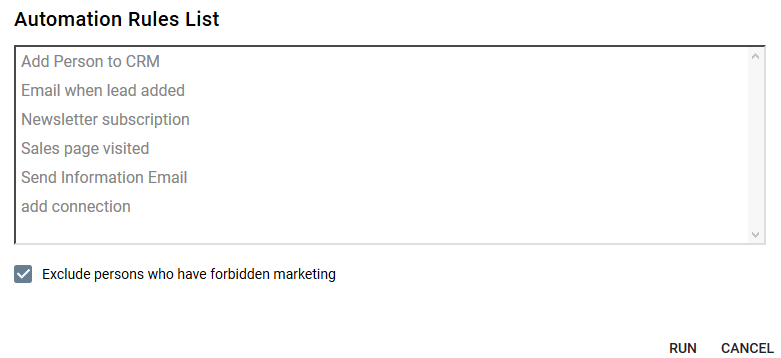
To start an automation rule for all list members of an email list, click  and select Run Automation. You will see a list of enabled person automation rules. You can select a rule and click RUN to trigger it for all members of the email list.
Excel Operations
Import from Excel File
To add persons to a list using Excel Import, click  and select Import from Excel from the list that will appear.
- In the IMPORT EXCEL page that will appear, review the needed steps and click DOWNLOAD.
- Download and open the Excel template:
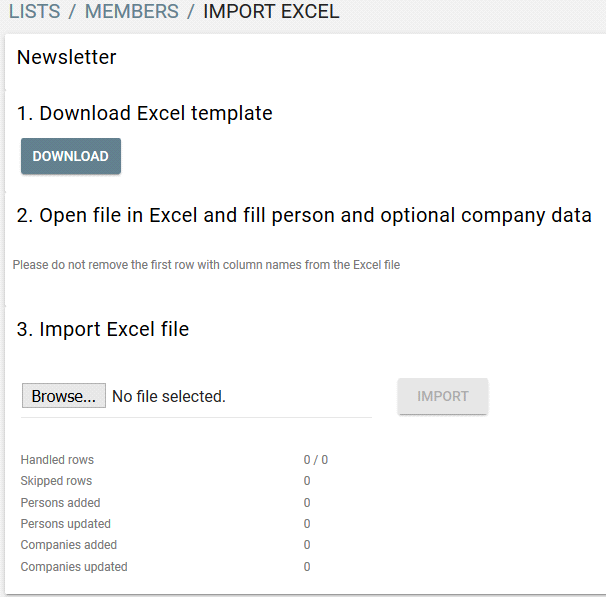
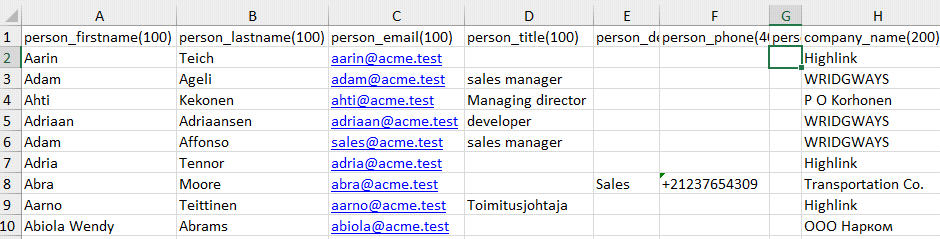
- Enable editing, if needed, or create a new Excel file with the same structure, and then add data you want to import. You should leave the first row with the field names:
- Save the Excel file with your data.
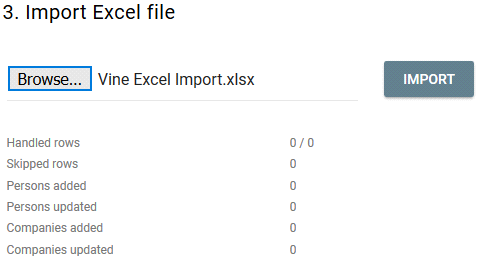
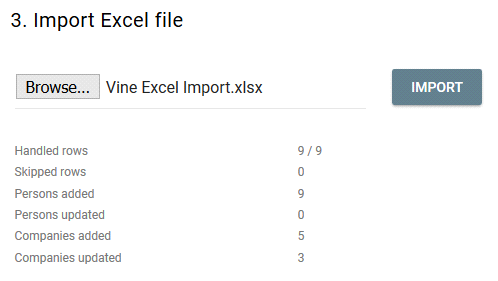
- Click IMPORT to load objects from the file to the database and email list:
Updating Existing Data
Please note that when loading objects the Excel Import will try to detect if the imported persons and companies already exist in the database. If it detects that persons and companies exist then it will update the existing objects instead of creating new ones.
The Import concludes that persons match depending on what data the import file includes:
- If import data includes person_id field then imported persons match persons with the same person ID in the database. (If you importing edited Excel data originally exported from Vine, then it is important that you preserve the "person_id" and "company"id" columns so that all objects will be updated correctly.)
- If no person ID present, then if import data includes first name, last name, and email address then imported persons match the ones in the database if they have the same first name, last name, and email address.
- If import data includes only email address, then the Import considers as matching persons with the same email address in the file and database.
With companies, the Import concludes that companies match as follows:
- If import data includes company_id field then imported companies match companies with the same company ID in the database.
- If no company ID present, then if import data includes businessID, and street address then imported companies match the ones in the database if they have the same businessID, and street address.
- If imported data includes only company name, then the Import considers as matching companies with the same name in the file and database.
Export to Excel File
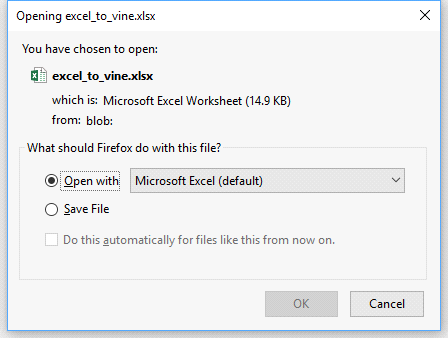
To export list persons to an Excel file, click and select Export to Excel from the list that will appear.
Select Open with Microsoft Excel or Save File and then click OK.