Other
Other is a page which includes the Events, Questionnaires and Published Documents tabbed pages.

Events
The Events page shows events published on the Customer Web and available for registration and sending invitations to. Persons get automatically connected to these events after registering or accepting invitations. You can create Register and Invite links when editing emails.

- Events - shows the number of events in this month and quarter.
- Participants - shows how many persons accepted invitations for events in this month and this quarter.
Chart
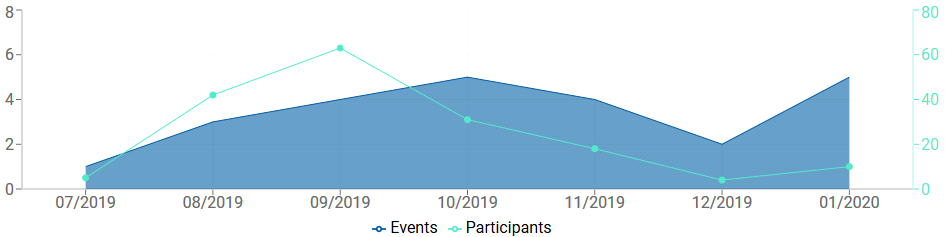
The chart shows the number of events and invited participants per month.
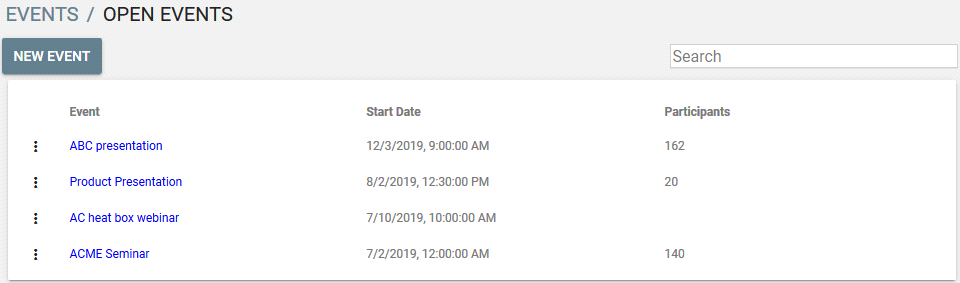
The Open events table lists events in the nearest future available for invitations. In Vine CRM, these events are shown in the Upcoming Events pane on the Marketing Today page.
Click OPEN EVENTS to see the Open Events page where you can create a new event or to see all events currently available for invitations.
The Event history table lists most recent events in the past which were used for invitations. In Vine CRM, these events are shown in the Events for Invitation tool.
Click EVENT HISTORY to open the Event History page where you can see all events ever available for invitations and to check their participants.
OPEN EVENTS page
In the EVENTS / OPEN EVENTS page use the Search box to narrow down the list of shown events.
- To edit an event, select Edit Event
 from its
  menu.
menu. - To delete an event, select Delete event
 from its menu.
 - To see a list of participants, simply click an event or select List participants
 from its menu.
Click NEW EVENT to create a new event.
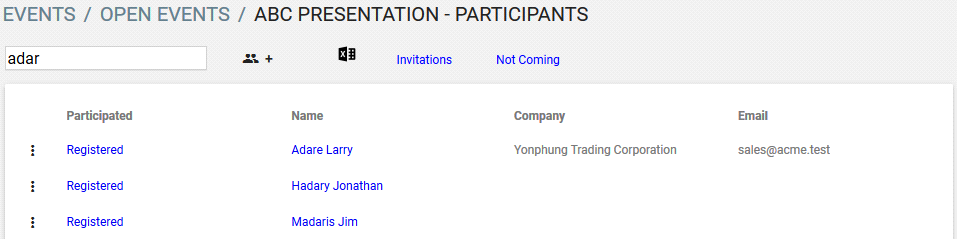
List of Event Participants for Open Events
Click an event or select List participants from the menu of an event if you want to see a list of its participants
Use the Search box to limit the shown results.
- To edit a person, select Editfrom its menu.
- To disconnect a person from the event, select Delete from its menu.
- To mark a person as Not Coming for the event, select Not Coming
 from the menu. The list will be refreshed and the marked person will be moved to the Not Coming page.
The first column shows if a person was "Registered" or "Participated" in the event. If needed, you can click in the first column to change "Registered" to "Participated".
Click in the Name column to see person summary view.
If you need instructions for the Person Add  operations or Excel Import/Export Operations
  please refer to the Lists chapter.
Click Invitations to see a list of people invited to the event. This lists includes people from the following sources:
- Persons whom you sent an email with a registration link for this event.
- Persons you added manually.
Click Not Coming to see all persons who informed that they are not coming (using a "Not Now for Event" link).
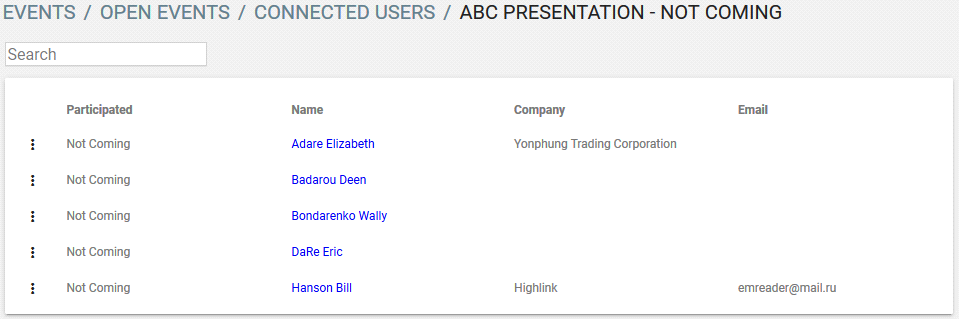
- To edit a person, select Editfrom its menu.
- To mark a person as Coming for the event, select Coming
 from the menu. The list will be refreshed and the marked person will be moved to the Coming page.
Creating a New Event
Click NEW EVENT to create a new event. Fill in the event fields.
- Use the Max Attendees field to set how many persons can register for an event.
- Use the Warning Limit field to set when a warning email should be sent to you and when a warning that the event is almost fully booked should be shown in the Customer Web.
- Use the Last Registration Date field to specify when you will stop accepting registrations:
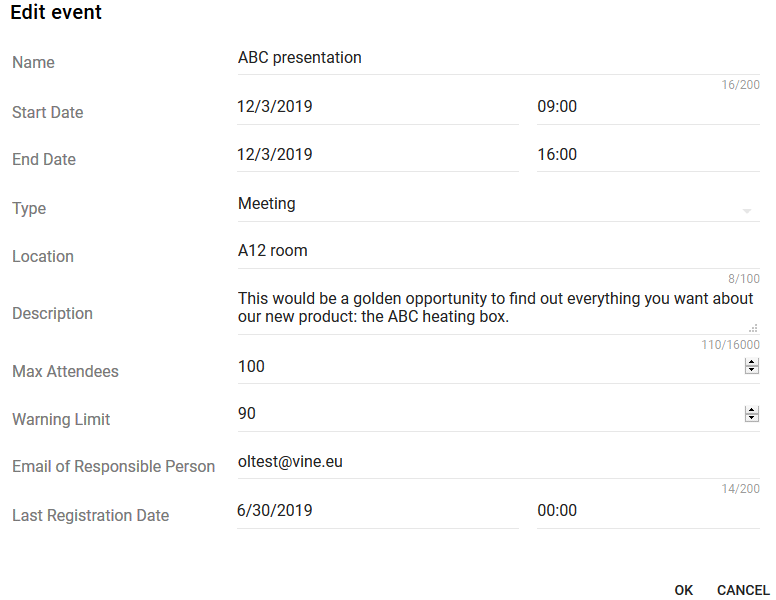
Click OK to save the event.
EVENT HISTORY page
In the EVENTS / EVENT HISTORY page use the Search box to narrow down the list of shown events.
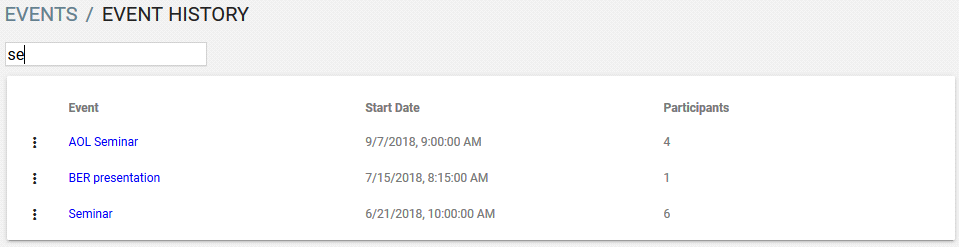
- To edit an event, select Edit Eventfrom its menu.
- To delete an event, select Delete event from its menu.
- To see a list of participants, simply click an event or select List participants from its menu.
List of Event Participants for History Events
Click an event or select List participants from the menu of an event if you want to see a list of its participants
Use the Search box to limit the shown results.
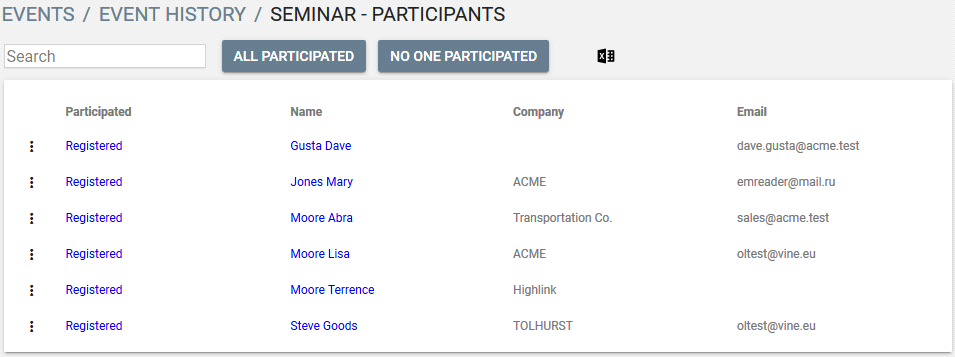
The first column shows if a person was "Registered" or "Participated" in the event. If needed, you can click in the first column to change "Registered" to "Participated" or the other way around. If you need to mark all persons in the list as "Participated" or "Registered" , you can use the "All Participated" and "No One Participated" buttons.
Click All Participated to mark all persons as "Participated".
Click No One Participated to mark all persons as "Registered".
Click in the Name column to see person summary view.
If you need instructions for Excel Import/Export Operations please refer to the Lists chapter.
Questionnaires
The Questionnaires page gives an overview of questionnaire usage and allows you to create new questionnaires or change existing ones.
The page shows:
- Questionnaire usage statistics
- List of questionnaires
- A New Questionnaire button which opens a questionnaire editor where you can design comprehensive questionnaires by entering questions and specifying answer options.
Questionnaire usage statistics
You can see how many questionnaires were answered during the current and the previous week, month, and quarter:

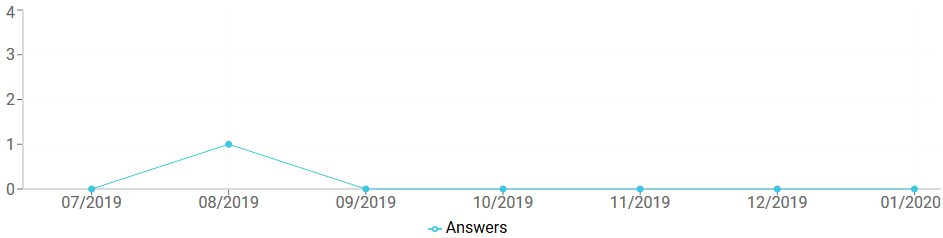
The chart shows the number of questionnaires answered per month:
The Questionnaires table lists questionnaires recently created.
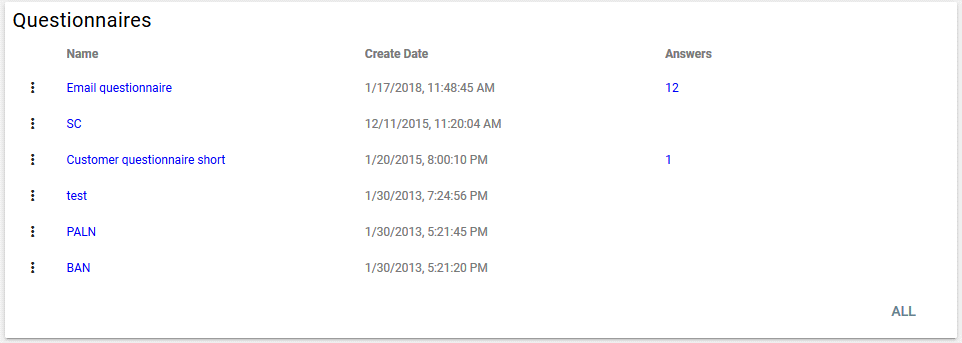
For each questionnaire the table shows the date when it was created, the name and how many times it was answered.
- To edit a questionnaire, click it or click and select Edit
- To create a copy of a questionnaire , click and select Duplicate

- To delete a questionnaire, click and select Delete
Click ALL to open the Questionnaires / List page where you can see all available questionnaires.
Click  to create a new questionnaire.
Click the Answers counter to view and analyze the results of a questionnaire.
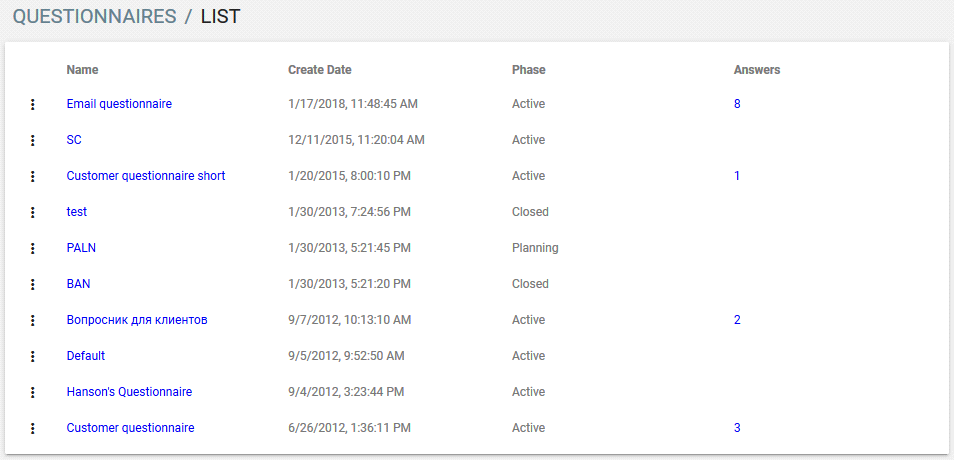
Questionnaires / List page
The Questionnaires / List page lists all questionnaires available to you:
Creating/Editing Questionnaires
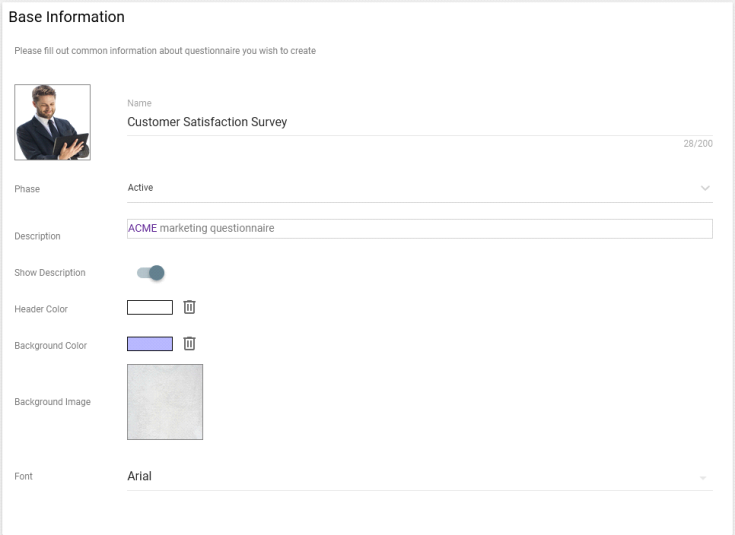
To create a new questionnaire, click :
- Enter a name.
- If you want to set the header image then click in
-
Choose a questionnaire phase:
- Choose Active if you are going to use the questionnaire for emails sent in Marketing Automation. Questionnaires in other phases can not be added to emails.
- Choose Planning if you are creating a new questionnaire or modifying an existing one and it is not ready yet.
- Choose Closed if you are no longer going to use the questionnaire in your marketing emails.
- Enter description for your questionnaire. Select Show Description to make the description visible to respondents. Otherwise, the description will not be shown in your questionnaire and can be used only for internal comments.
- Use the Header Color, Background Color and Background Image fields to further enhance the look of your query.
-
Select a desired font for your questionnaire from the Font list
and choose an image from the Edit Image dialog.
Please note that you can use the Style Wizard in Customer Web Settings for more advanced design settings.
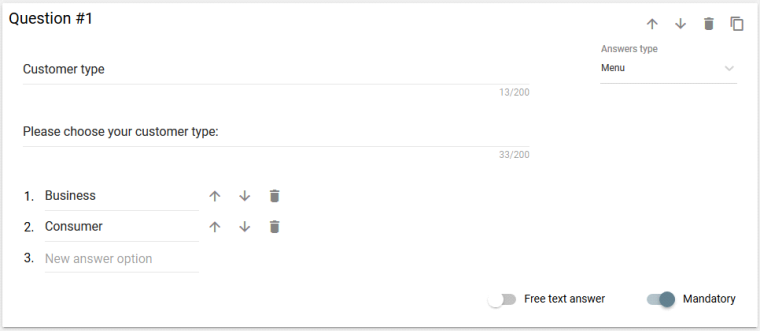
To create a question:
-
Click in its Subject to enter the name of the question and then click in the Question field and enter the question.
-
Click
 to move the question to the required position in the list of questions.
 -
Select an answer type for the question from the Answers Type list.
If you need more information about each answer type please refer to the Answer Types section below.
-
Enter Answer Options. Check how the answer options will look for your question and use the
arrows to move any option row to the desired position. -
Select Free text answer if needed. A Free Text edit box will be added so that any extra information can be entered.
-
Select Mandatory if you do not want the user to skip answering this question. Mandatory questions will be marked with a star and will be emphasized with a red line if the user clicks Save without answering a mandatory field.
-
If you want to add one more question then click in the Subject field of the next question.
(Whenever you click in the last available question a form for one more question appears at the bottom of your questionnaire.)- If you want to copy a question , click
 . The copy will be inserted right after the copied question.
 - If you want to delete a question , click
 .
.
- If you want to copy a question , click
- To save the current state of the questionnaire, click
 .
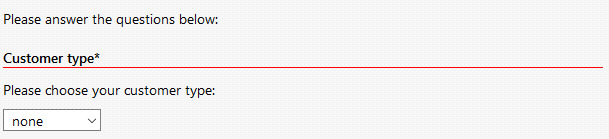
. - To preview the current questionnaire click,
 . Please note that you need to save the questionnaire first before the View button will be enabled.
Answer Types
Answer types define how the user will answer your questions.
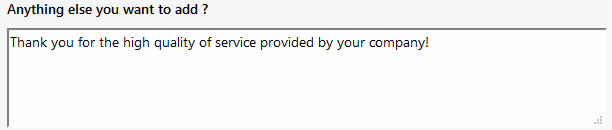
Free Text
In free text fields, answer text can be typed in free form:
Number Value
Number fields allow integer values within limits set by Value Range:
 .
.
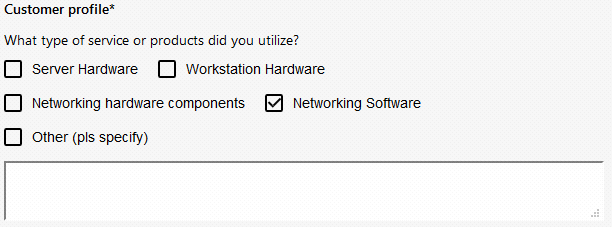
Checkboxes
Checkboxes allow selecting any number of options. A Free Text edit box can be added for free-form answers.
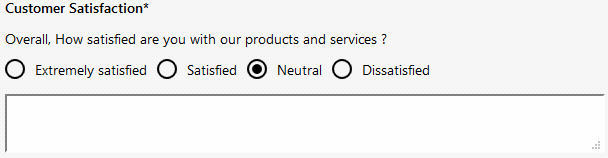
Radio Buttons
Radio-buttons allow selecting one of the available options only. A Free Text edit box can be added for freeform answers.
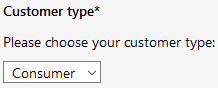
Menu
Menus are lists which allow selecting one item from the list. A Free Text edit box can be added for freeform answers.
Rating
Use the Rating type to create questions which require a five star scale answers.

Analyzing Results
You can start analyzing the results of your questionnaire by clicking the Answers counter in the list of questionnaires. It contains the statistics of answers in a graphical form. The pane lists all the questions and counts of answers selected by customers:
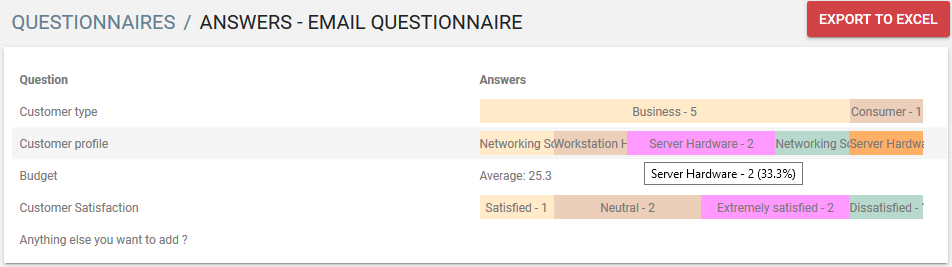
For each answer, there is a count of how many customers selected this answer. If there is not enough space for answer text and/or count then this information can be seen in a tool tip for this answer bar.
For numerical answers an average value of all answers is shown.
If you need to analyze answers in even more detail you can do this by exporting answer data into an Excel file.
Exporting Results
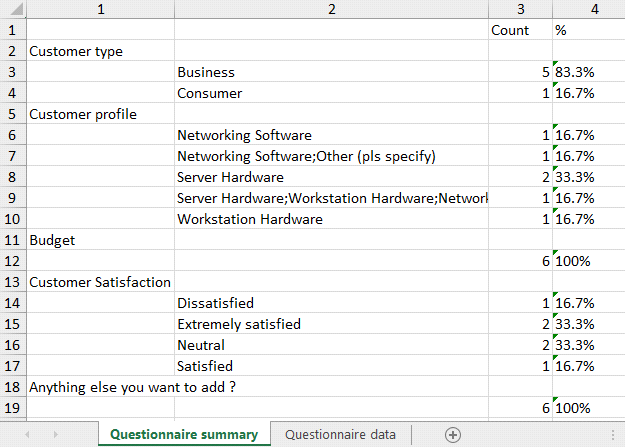
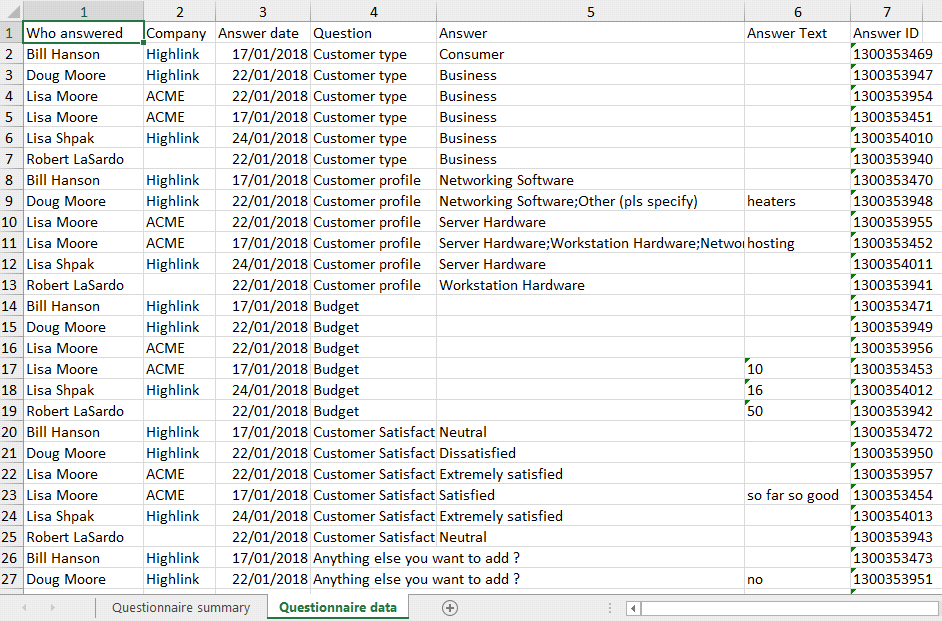
Click Export to Excel to export all the answer data into an Excel file. The Excel workbook will include two sheets:
- Questionnaire summary which lists questions, answers, their counts and percentages in all selected answers.
- Questionnaire data includes more detailed data which you can further process:
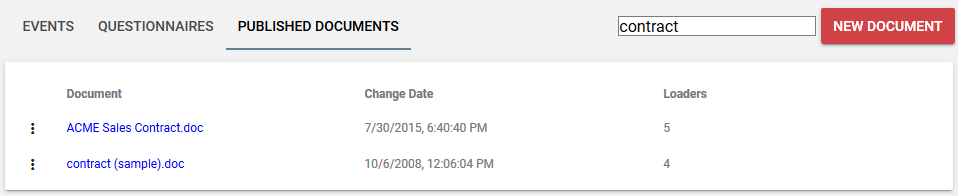
Published Documents
The Published Documents page lists documents published on the Customer Web. Here you can review existing and upload new documents to the Customer Web:
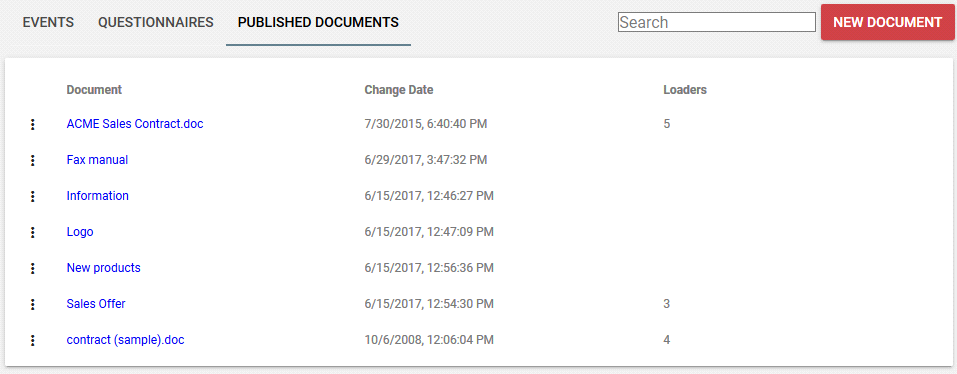
To upload a new document, click NEW DOCUMENT.
To edit a document click it. To open more commands for a document, click at its left side:
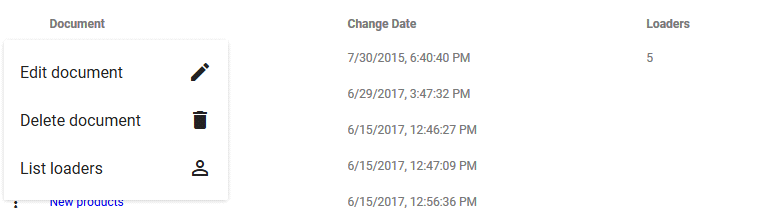
- To edit a document, click it or click and select Edit document

- To delete a document, click and select Delete document

- To see a list of loaders (people who downloaded a document), click and select List loaders

To filter documents, type a text string you want the listed documents to include: